
How to Measure for Your Steel Door – A Complete Guide
When ordering a bespoke steel door, accurate measurements are essential to ensure a perfect fit and avoid costly mistakes. Use this step-by-step guide to measure your opening before placing an order. The process is straightforward and can be done with basic tools.

Tools You’ll Need
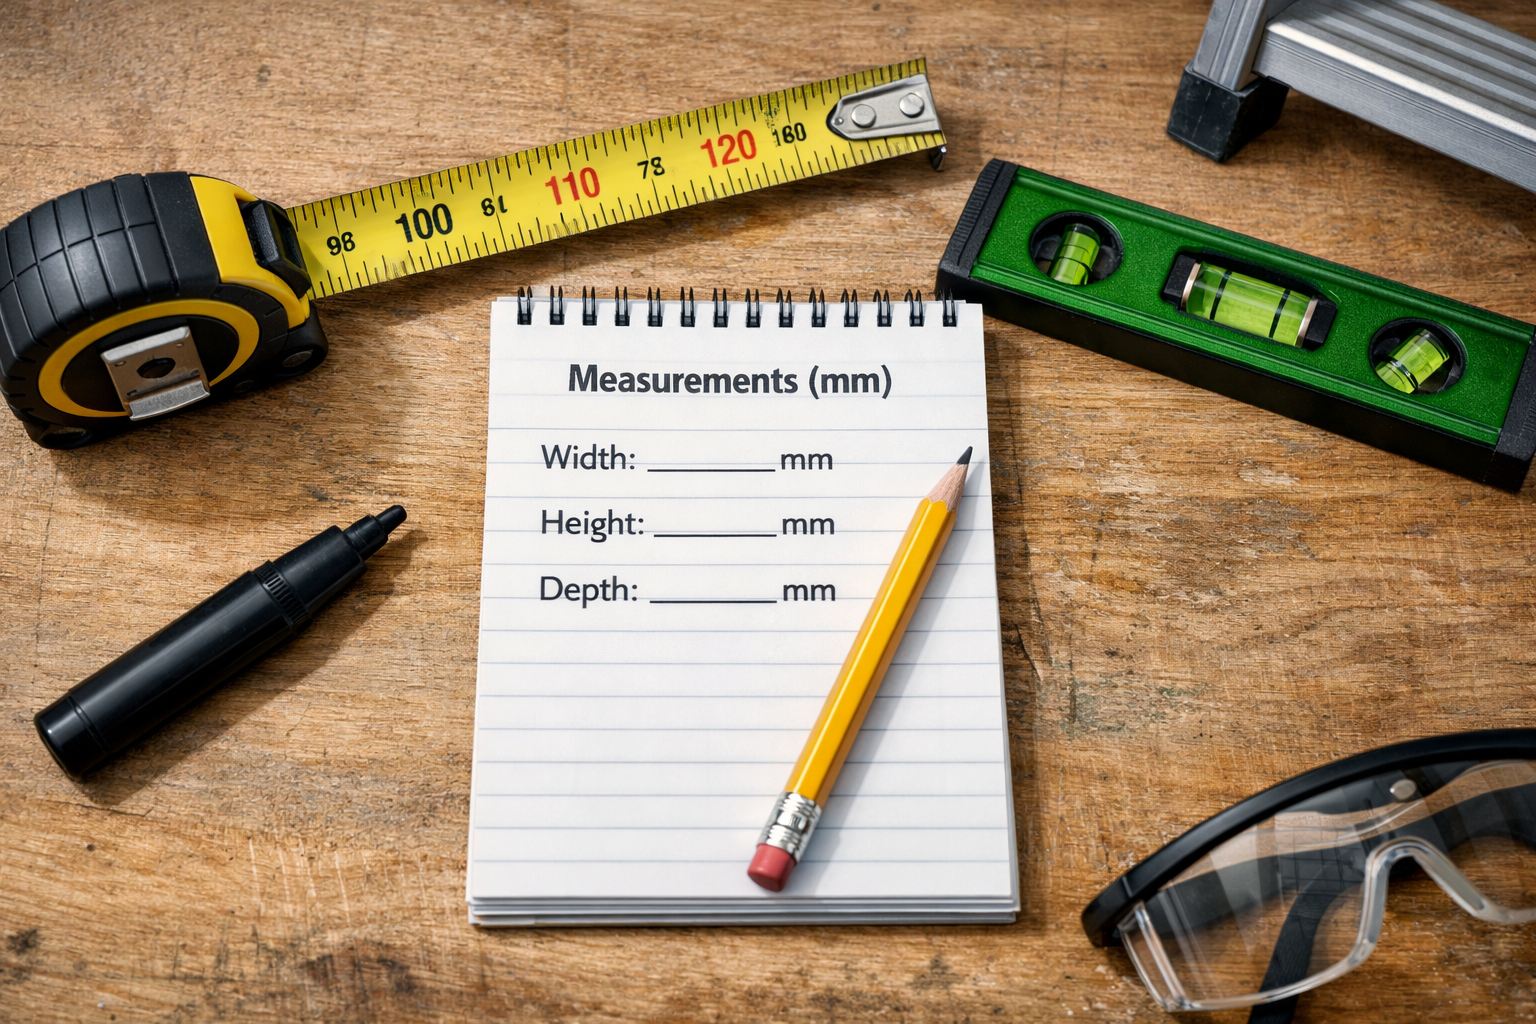
Use basic tools and record everything in millimetres (mm) for the best accuracy.
- Steel tape measure (preferably mm)
- Pencil or marker
- Notepad or measurement sheet
- Spirit level (to check level and squareness)
- Optional: step ladder for tall frames
Step 1: Identify Your Door Type

Before measuring, decide which configuration you need. This helps us interpret your sizes correctly and recommend the right frame, sightlines and system.
- Single Door – One hinged door leaf within a steel frame. Best for standard openings.
- Double Door – Two hinged leaves meeting in the centre. Can be double-active (both open) or one active + one fixed.
- Sliding Door – A door leaf that slides along a track parallel to the wall (no swing space needed).
- Pocket Door – A sliding door that disappears into a wall cavity when opened.
- Door with Sidelight / Fixed Panel – A door with one or more fixed glazed panels beside it to widen the glazed area.
Step 2: Measure the Structural Opening Width
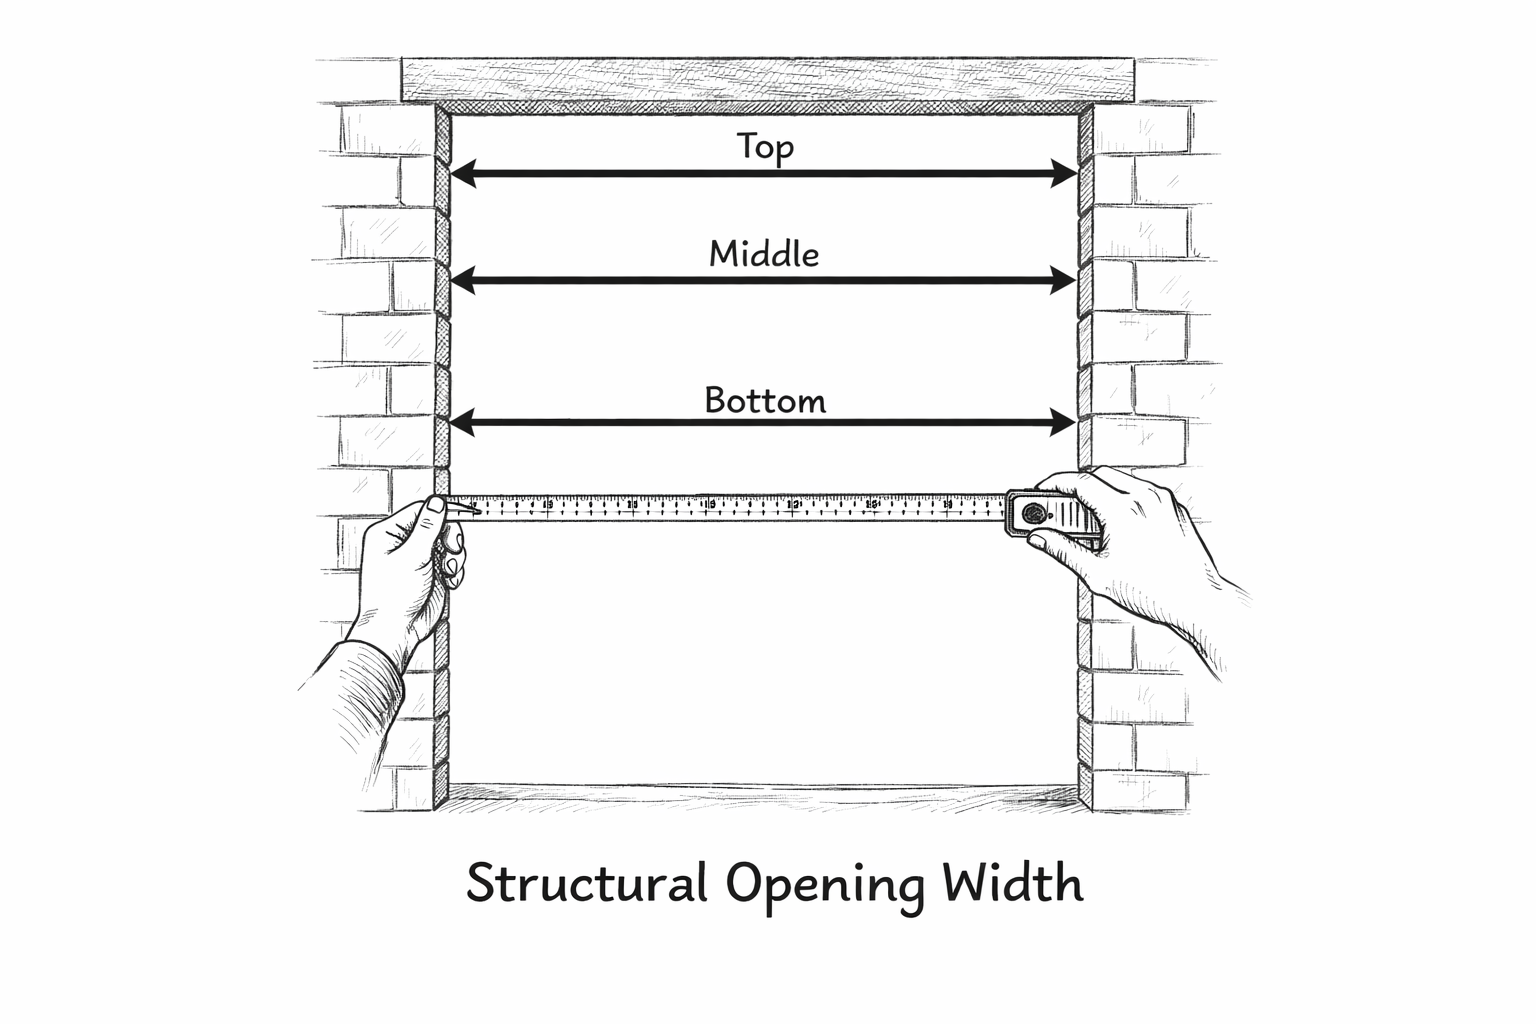
The structural opening is the clear brick-to-brick or stud-to-stud gap where the frame will sit. Measure the width in three places:
- Top – measure across the top of the opening.
- Middle – measure across the midpoint.
- Bottom – measure across the bottom at floor level.
| Width position | Your measurement (mm) | Notes (e.g. wall not straight) |
|---|---|---|
| Top | _____ | |
| Middle | _____ | |
| Bottom | _____ |
Step 3: Measure the Structural Opening Height

Measure the height from the finished floor to the underside of the lintel (or head of the opening):
- Left – floor level to lintel/head.
- Right – repeat on the right-hand side.
- Centre (optional) – useful for wide openings or double doors.
| Height position | Your measurement (mm) | Notes (e.g. threshold drop) |
|---|---|---|
| Left | _____ | |
| Right | _____ | |
| Centre (optional) | _____ |
Step 4: Check for Squareness
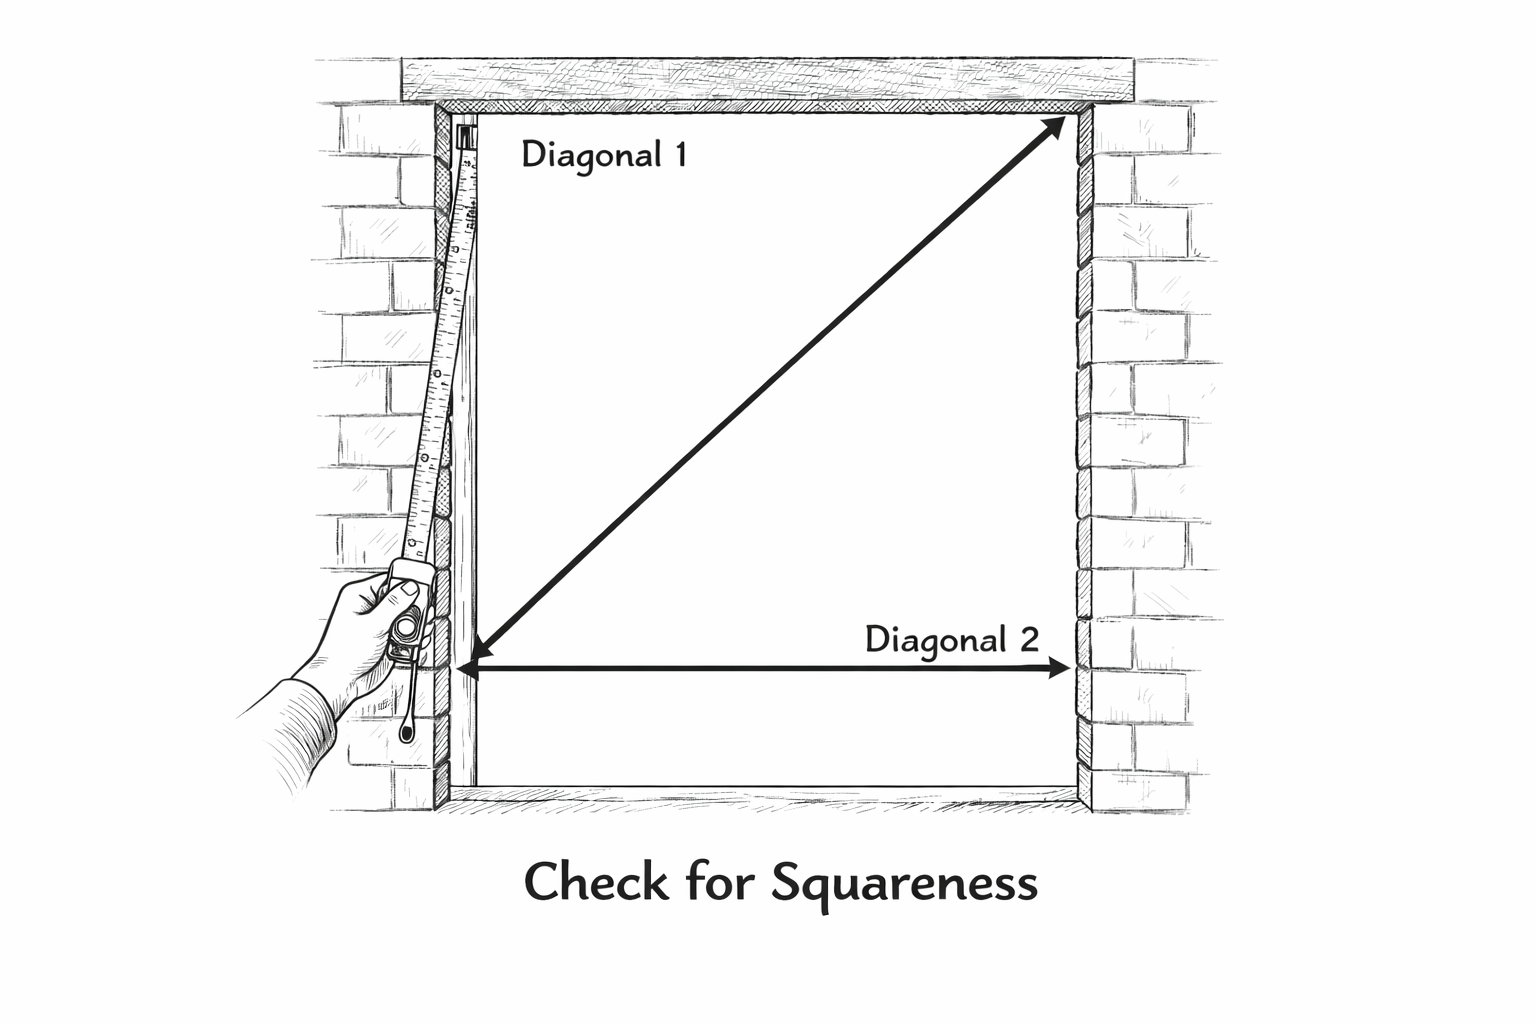
To check whether the opening is square, measure diagonally between opposite corners:
- Diagonal 1 – top left to bottom right.
- Diagonal 2 – top right to bottom left.
Step 5: Note the Handing (Hinge Side and Swing)
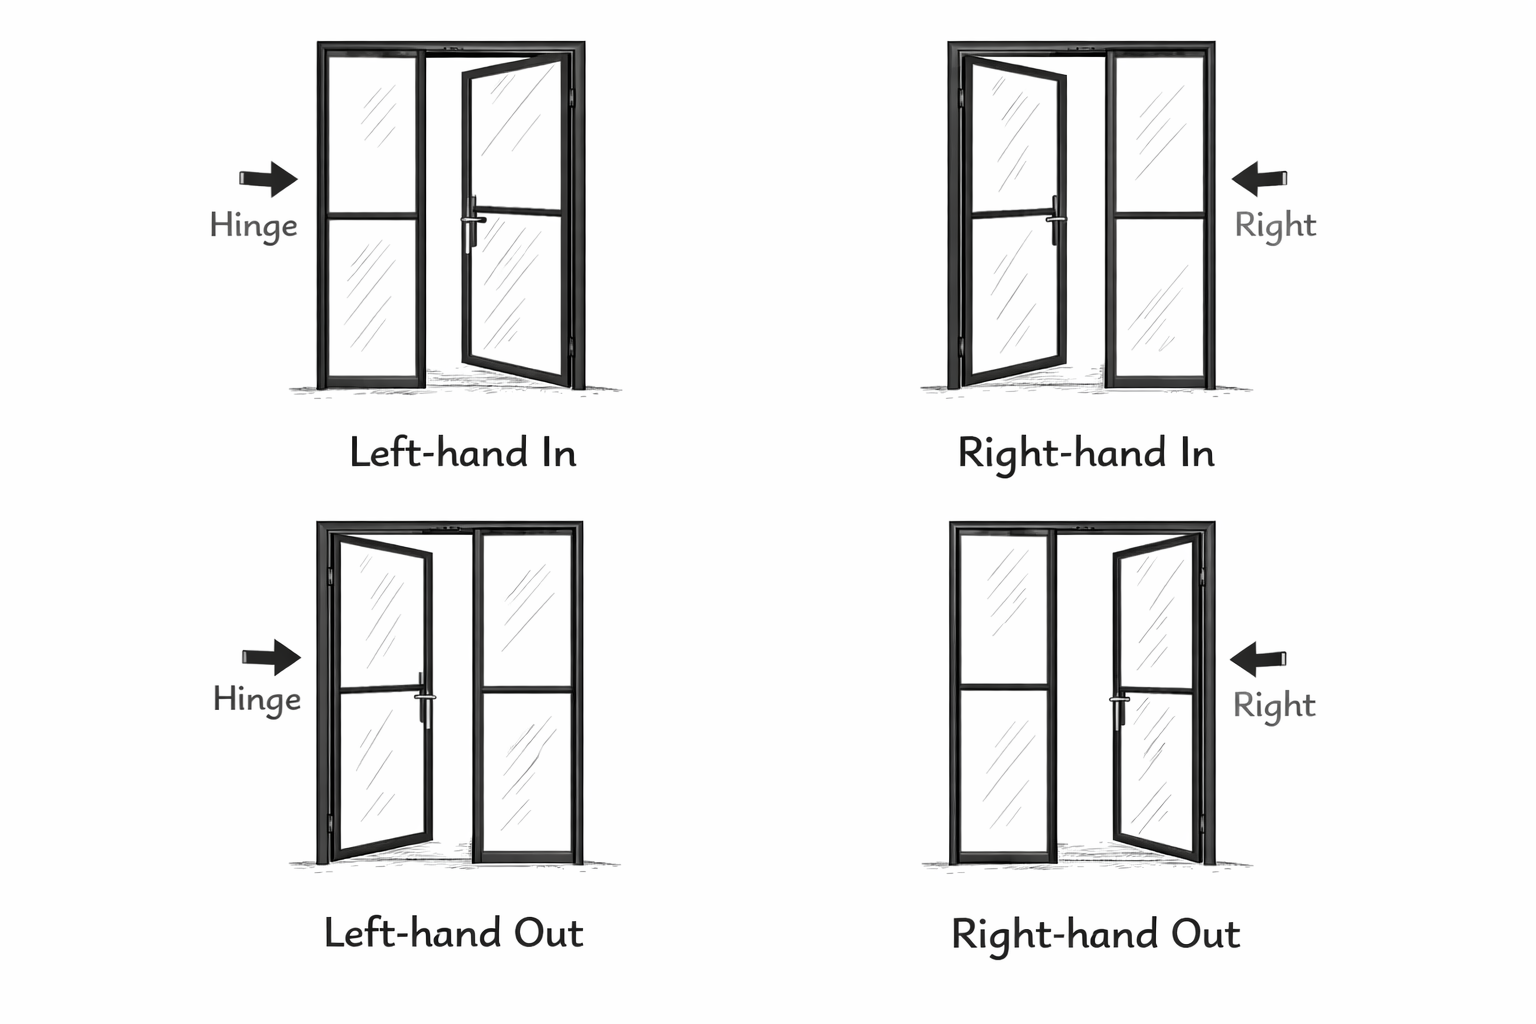
Decide how the door will open and which side the hinges will be on:
- Left-hand – hinges on the left when facing the door from the hinge side.
- Right-hand – hinges on the right.
- Also confirm whether it opens inwards or outwards.
Step 6: Measure Wall Thickness (Pocket or Sliding Systems)

If you’re planning a pocket door or a sliding door with a track system, measure the wall thickness from one finished face to the other.
Step 7: Allow for Floor Coverings and Thresholds

Consider any finishes that may be added after measuring (tiles, carpet, vinyl, engineered timber etc.).
- If the floor finish isn’t laid yet, add its thickness to your height measurement.
- For external doors, note whether a threshold step or weather bar is required.
Step 8: Record and Double-Check Measurements

- Measure twice to reduce mistakes.
- Write every dimension clearly in mm.
- Use the smallest width/height from multiple points.
- Note any irregularities (bows, uneven floors, damaged plaster etc.).
Step 9: Provide Your Measurements

Once you’ve collected your measurements, send them to our technical team with any notes about the opening and your preferred configuration. We’ll confirm whether any adjustments or tolerances are needed before manufacturing your bespoke steel door.
Final Checks and Contact

Accurate measurements ensure your steel door will fit properly and operate smoothly. If your opening is irregular, or you’re unsure about any measurement, we recommend booking a site survey with our installation team.
Have questions? Get in touch with our technical support team and we’ll guide you through the process.